2 How to adjust the color of the light?
3 How to adjust the pressing force?
Preparation before calibration
Possible problem: Do not hold down FN and not let go. Inserting USB type-B in this way will cause the product to work abnormally.
Solution: Unplug the USB Type-B, don't touch the FN, and insert the USB Type-B again to solve the problem.
Possible problem: Which settings will be reset after pressing "Reset to Default"?
Processing method: All settings will be restored to default and need to be re-calibrated. Unless there are special circumstances, please do not use this function.
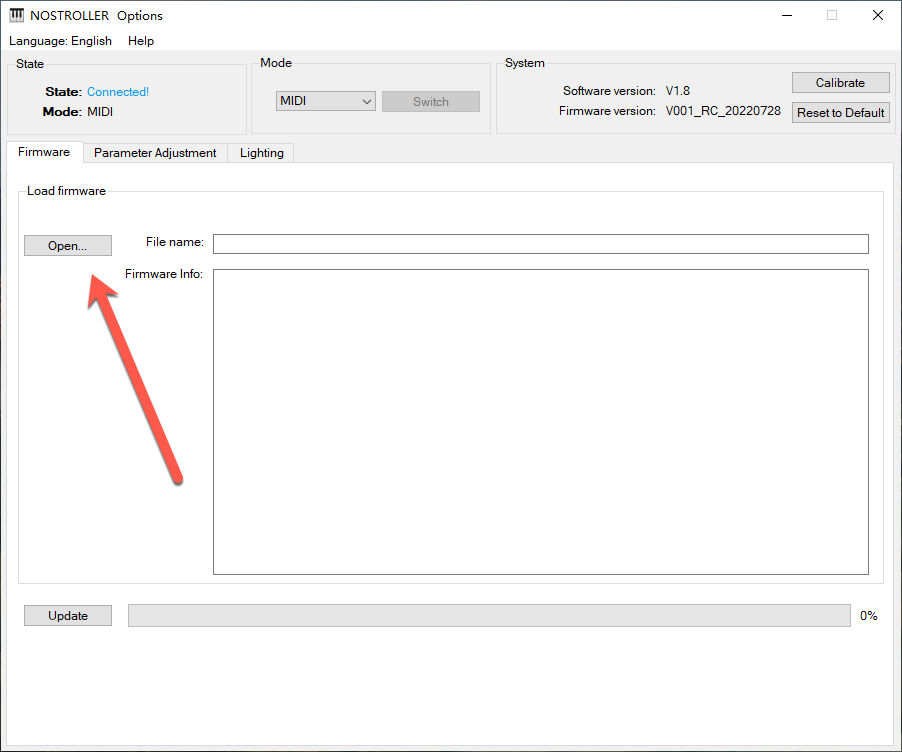
1. Open NOSTROLLER options.exe;
2. Connect the NOSTROLLER controller to the computer.;
3. Click "Open..." and select the XXX.skystar file;
4. Click "Update";
5. Update complete。
PS:After updating the firmware, the product will take effect automatically, no need to replug the USB cable.
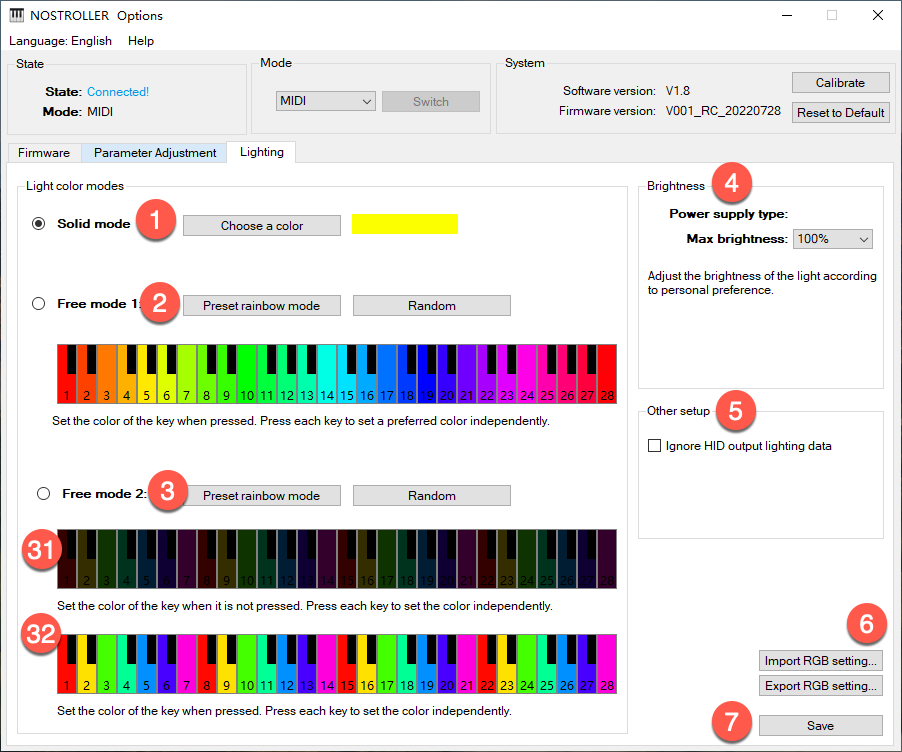
1. The same color is used for all keys, when the key is pressed, the light will light up the corresponding color;
2. 2Each button can be independently set to a color, when the button is pressed, the light will light up the corresponding color;
3. Each button can be independently set to two colors, 31 is the light color when the button is not pressed, 32 is the light color when the button is pressed.
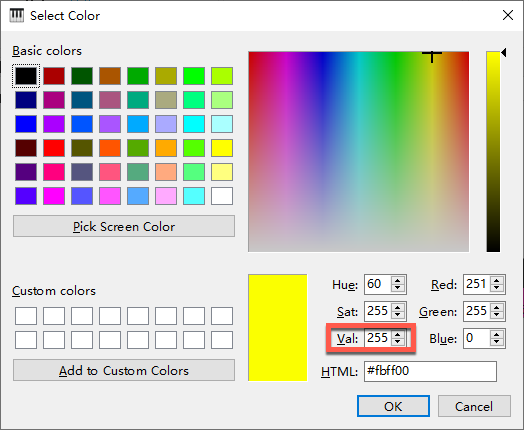
The brightness of the light depends on V in HSV, the larger V value, the higher brightness, the smaller V value, the lower brightness.
4. If the Type-c is connected to a power supply of 5V 500mA or above, it is recommended to set the maximum brightness to 50-60%; if it is connected to a power supply of 5V 2A or above, there is no need to adjust the maximum brightness. You can also lower the maximum brightness if the lights are harsh.
5. This setting is only valid in HID mode and using Specietxxls.
6. After any settings, you must click Save to take effect.
7. The exported lighting data includes the lighting data of ①②③, excluding ④ and ⑤. The exported form is a PNG image, which can be directly modified on the PNG through drawing software. A single color block in the picture does not support gradient colors, only a single color can be used.
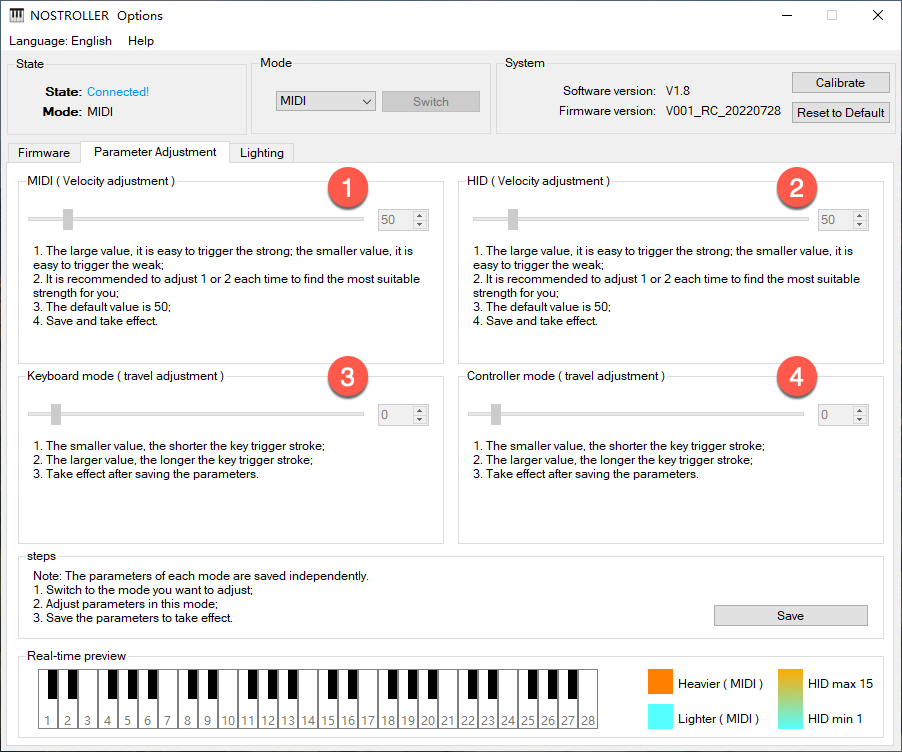
• In any mode, the velocity of all modes can be adjusted.
• After adjusting the parameters, it must be saved before it can take effect.
• Switch to MIDI or HID mode to see the implementation effect.
1. MIDI adjustment, the recommended condition range is 30-80;
2. HID adjustment, the recommended adjustment range is 30-80;
3. Keyboard adjustment, if the value is too large, there will be no key value output when the button hits the bottom.
4. Controller adjustment, if the value is too large, there will be no key value output when the button hits the bottom.
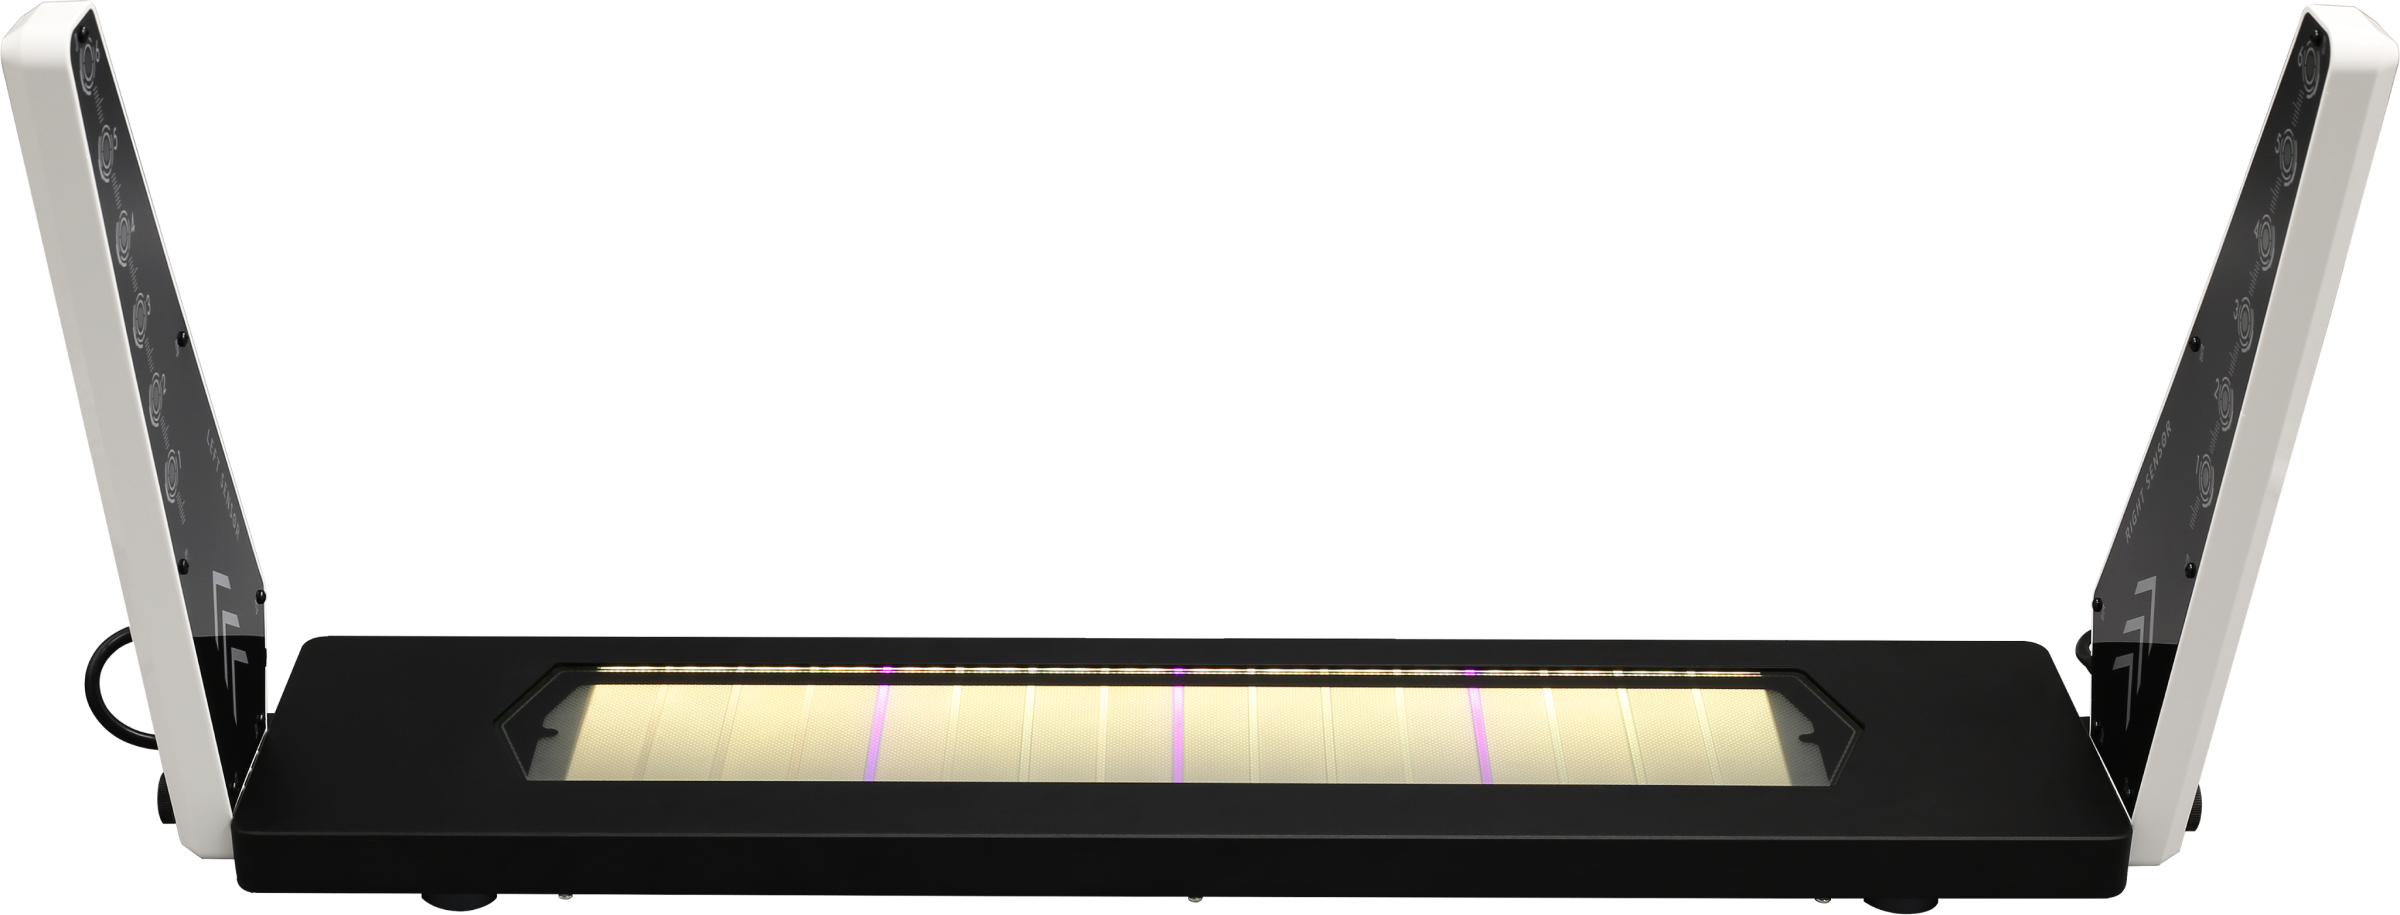
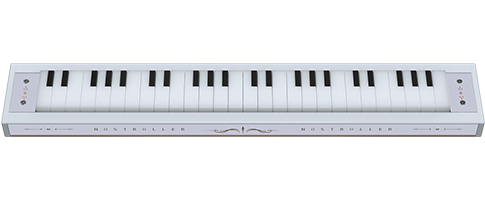
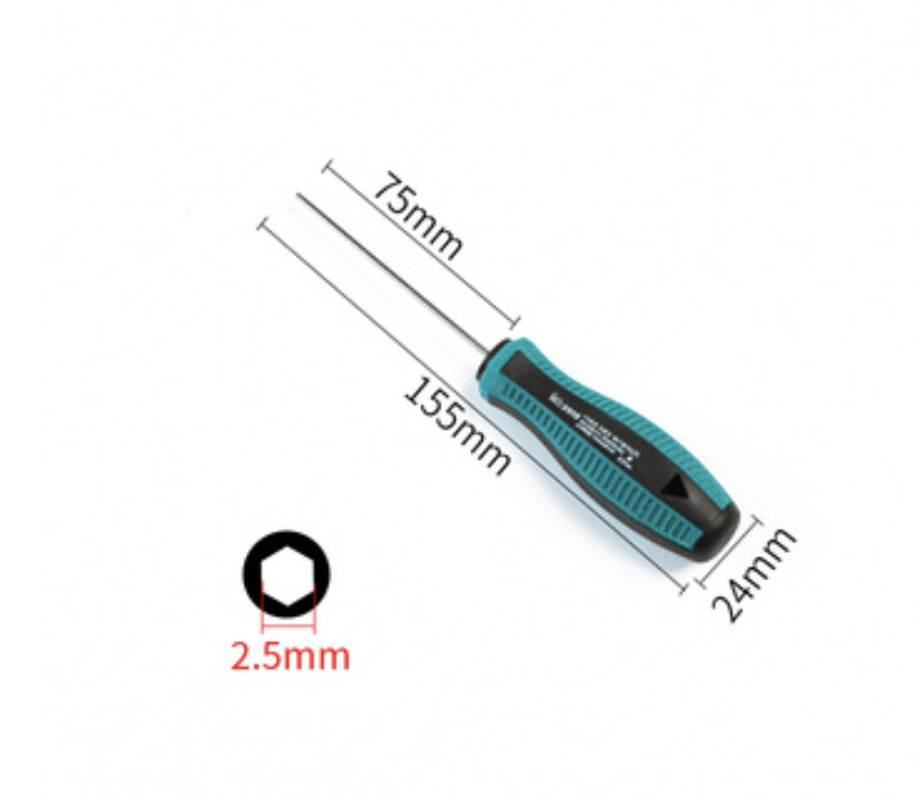
1. One Allen screwdriver, model H2.5
2. Flip the NOSTROLLER over and remove the screws as shown.
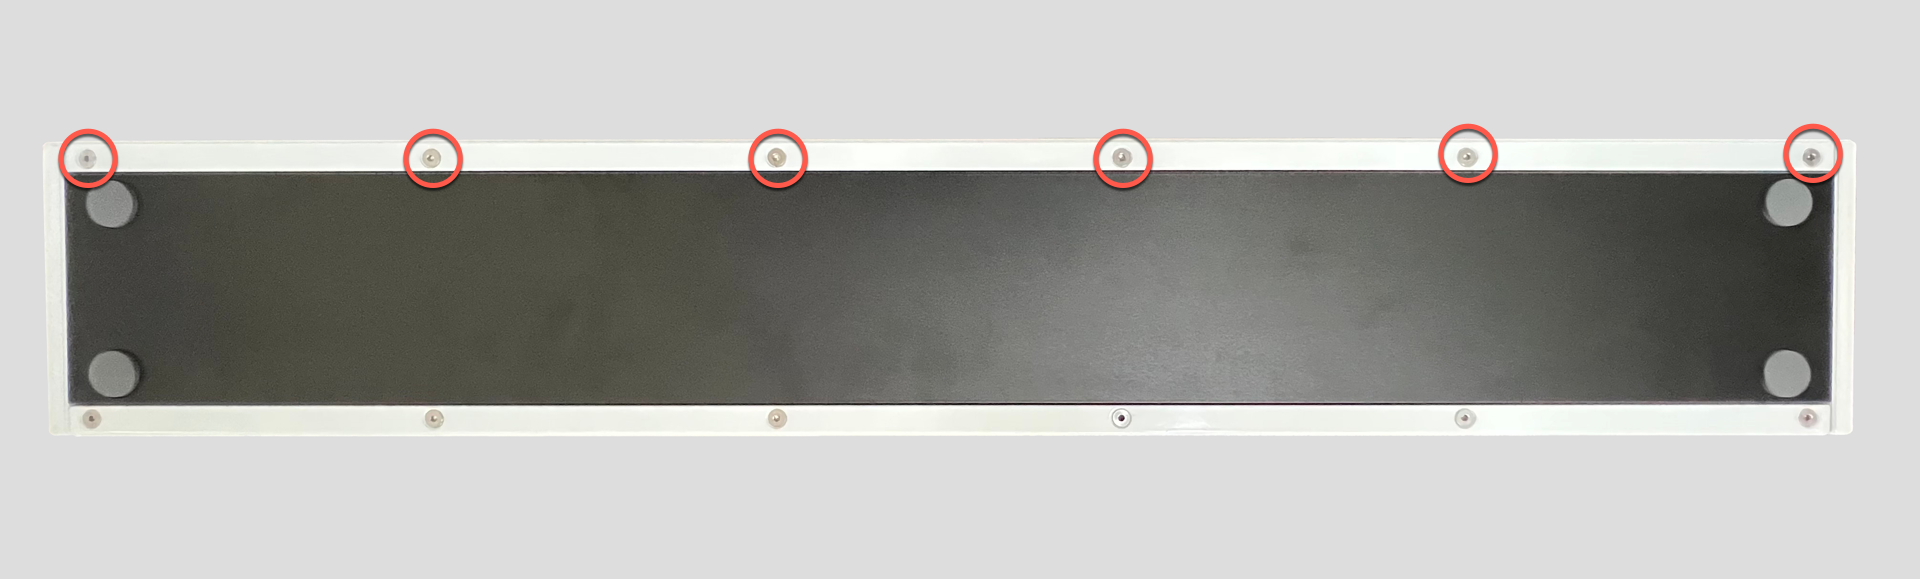
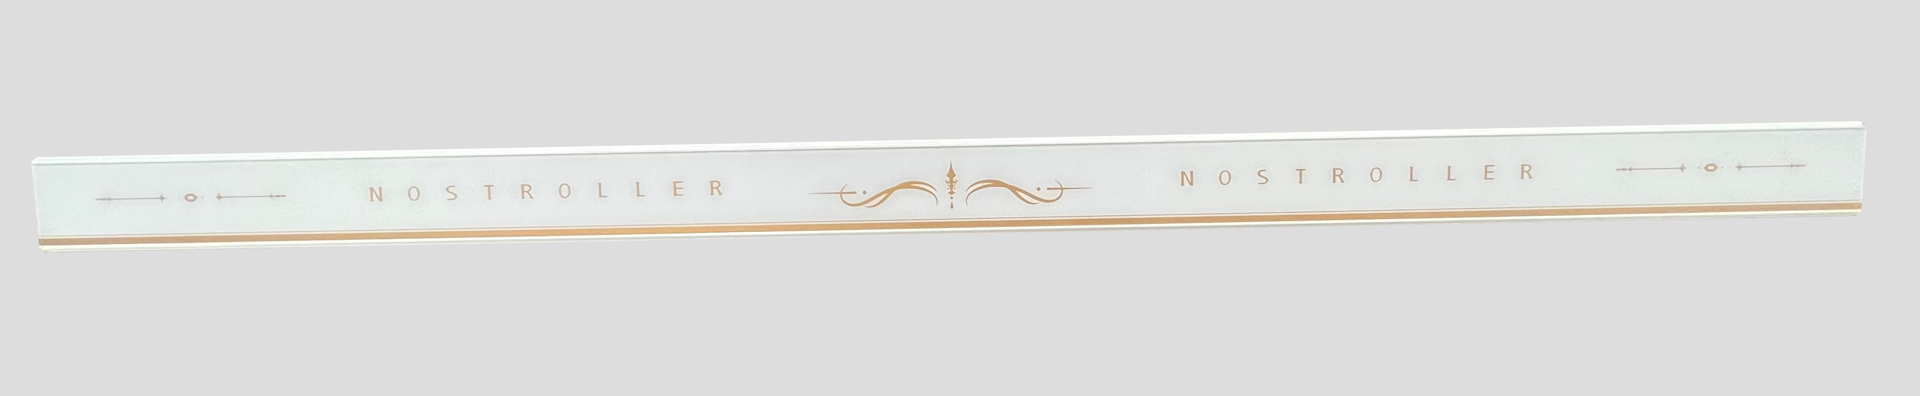
3. Take out the metal strip of NOSTROLLER and set aside.
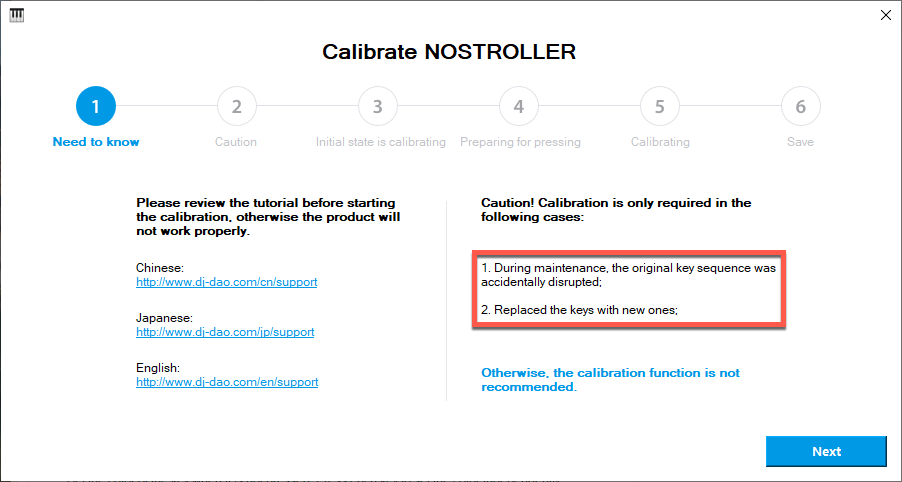
1. If there are no special circumstances, no calibration is required. Calibration is required only in the following cases. If eligible, click the Next button.
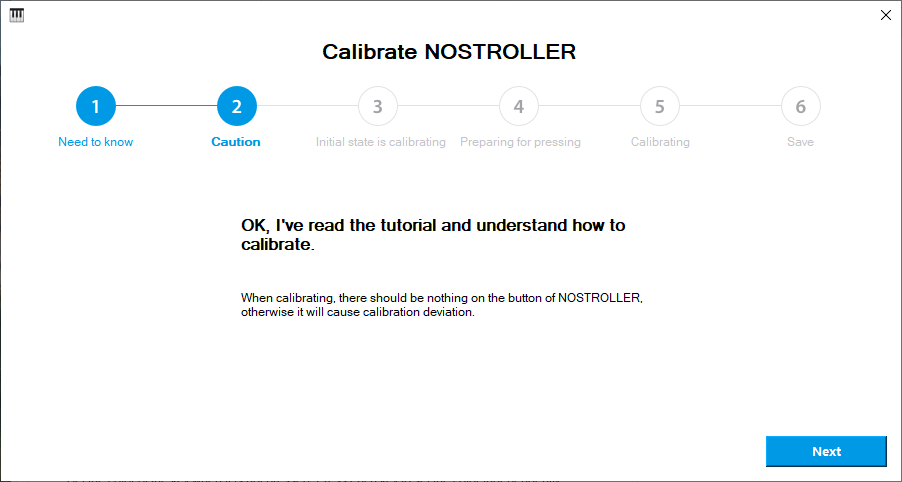
2. Click "Next"
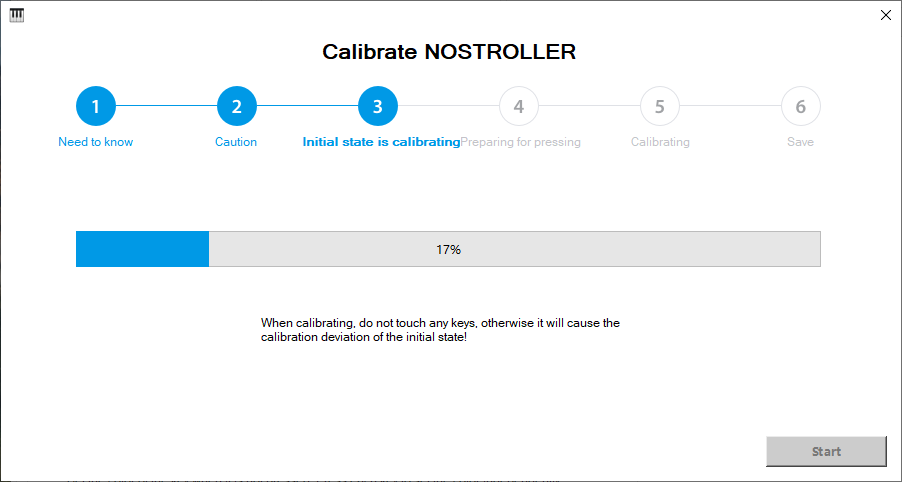
3. During calibration, do not touch any keys.

4. Wait for the calibration to complete.
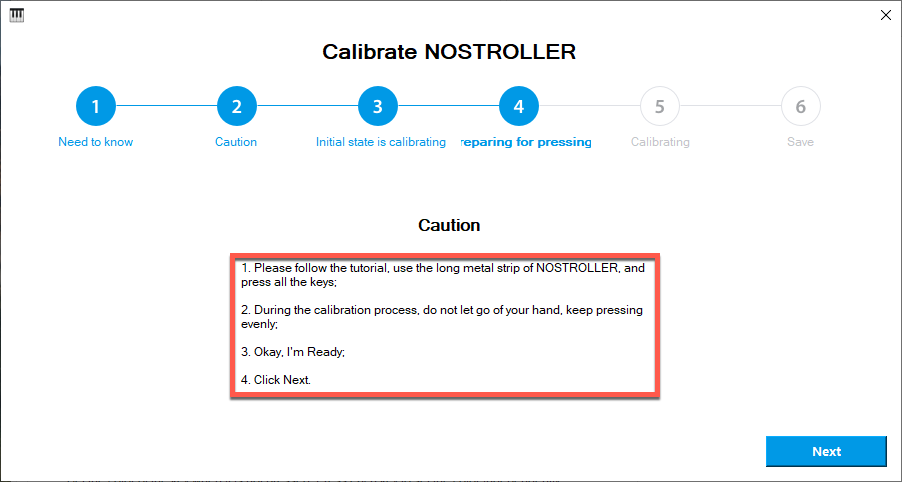
5. Press the metal strip removed from the NOSTROLLER on the button.
a. The pressing position needs to be the same as the picture;
b. You don't need to press too hard, just press the middle of the metal bar with one hand, and let all the keys touch the bottom.

6. Click "Next".
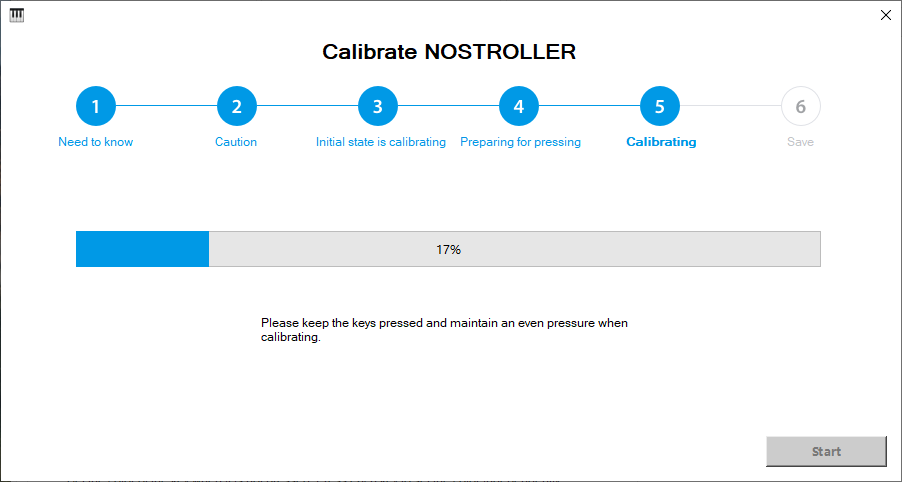
7. Keep pressing and click "Next".
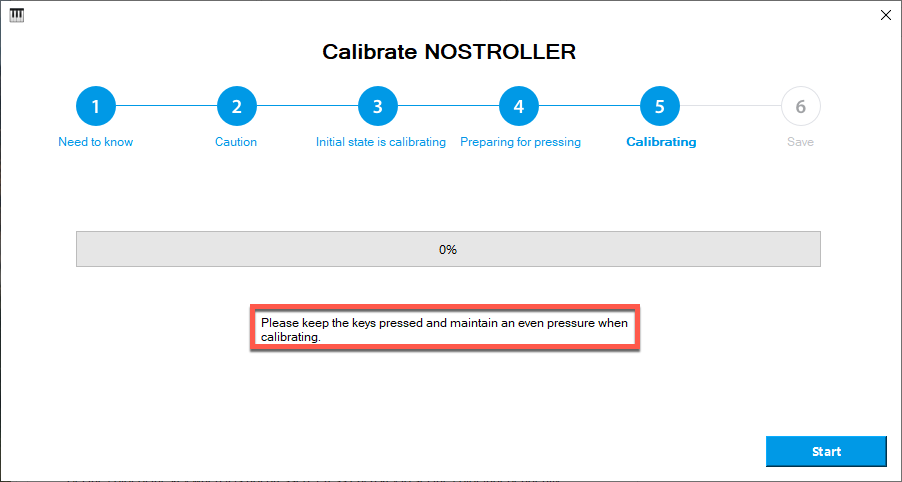
8. Wait patiently for the progress bar to complete.
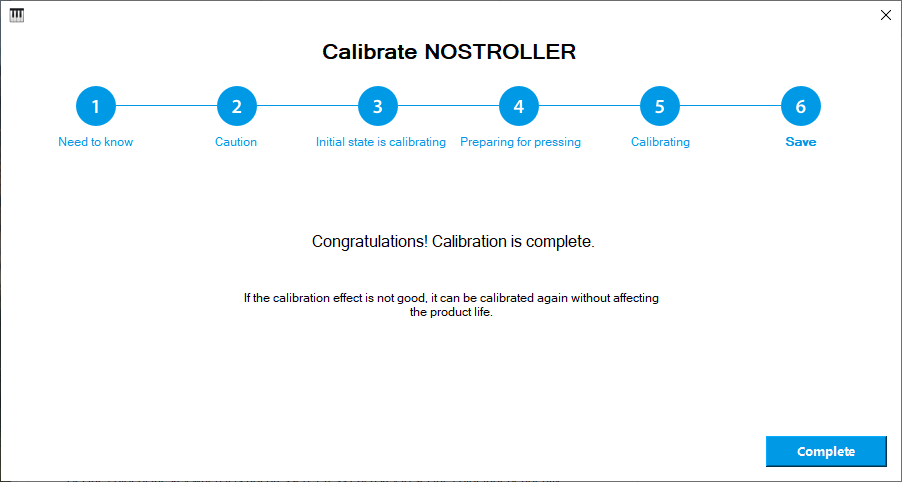
9. At this point, you can loosen the metal bar and click "Complete".
10. Put the metal strip back on the NOSTROLLER.